


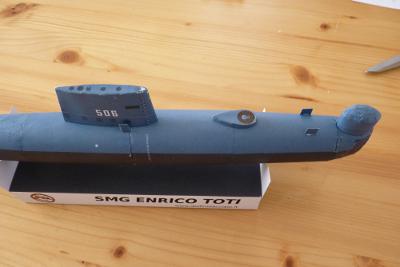
Toti paper model
Versione italiana
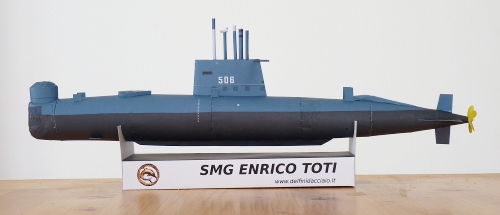
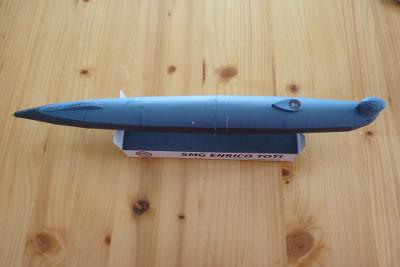
If You like models and submarines You cannot miss the chance to build a real 3d model of A Toti class submarine all made by paper!
The model is as like the original as details can be built with this material. The advantage is that everybody can build it quite cheaply.
First of all select the file for the desired submarine and download it.
Enrico Toti
Attilio Bagnolini
Enrico Dandolo
Lazzaro Mocenigo
The files differ in the number on the sail and the name on the pedestal.
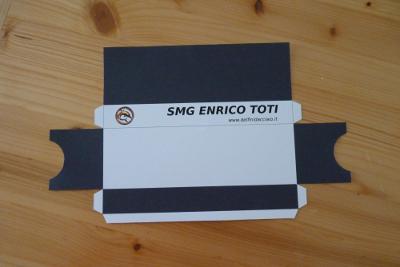
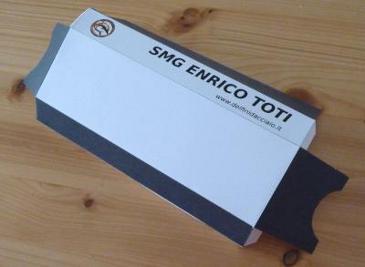
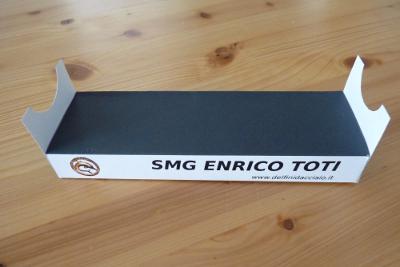
Set the printer to maximum quality. The first 3 pages can be printed on standard paper, but the last one should be printed on heavy paper or, if You cannot print on thick paper, glue it on a cardboard after printing.
You should start from this last sheet, cutting folding and gluing the pedestal. This way You will have a place where You can put the model during the building process.
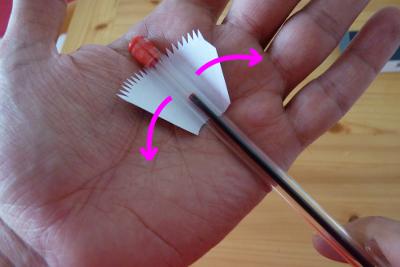
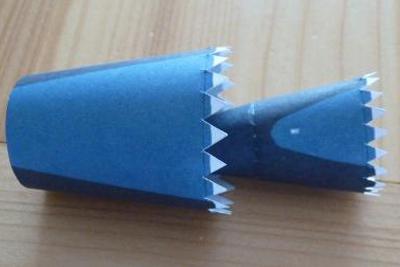
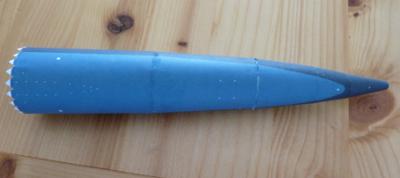
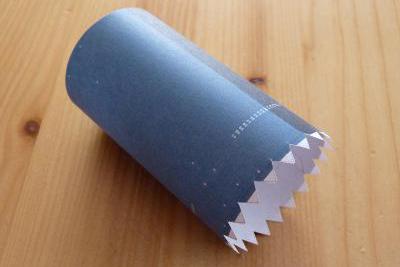
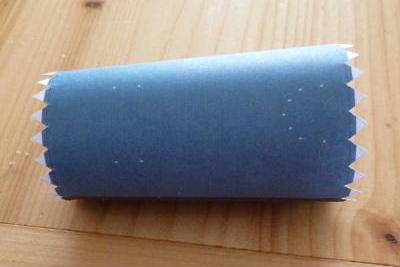
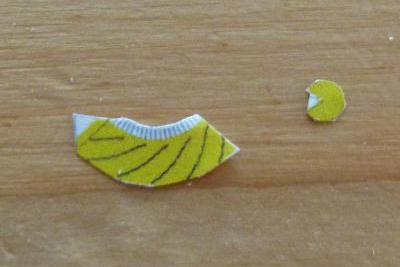
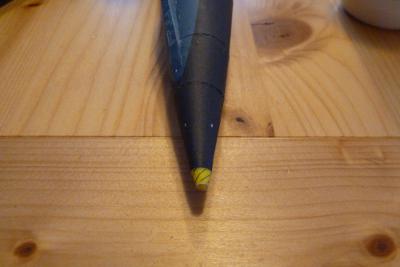
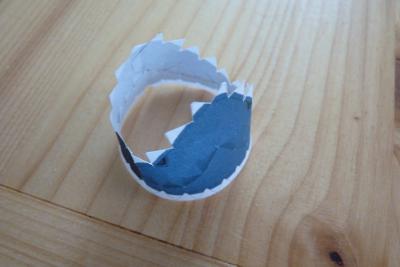
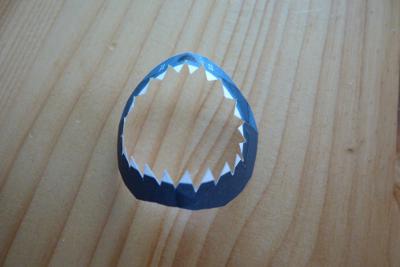
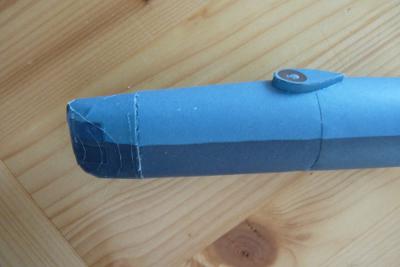
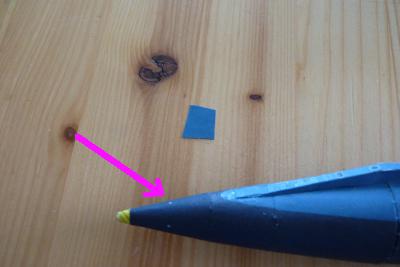
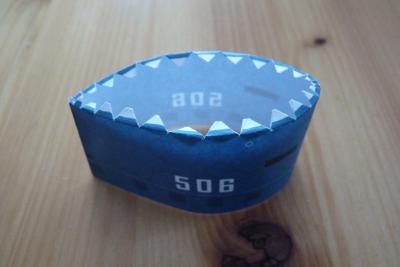
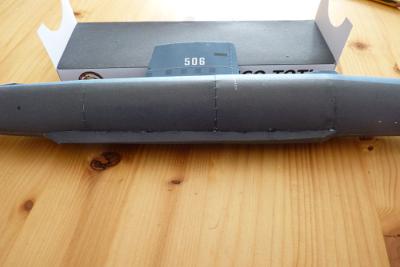
Now let's build the hull. Cut S1 and give it a curved shape. To help Yourself in the process of making curve shaped parts You could use, as shown in the photos, a pen or another cylindrical object of similar size, putting the paper on Your palm and dragging over the pen. The paper will bend quite easily.
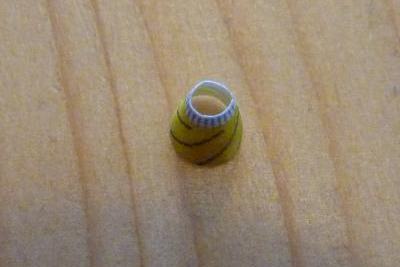
After giving the right shape to the part, glue along the longer side to make a truncated cone.

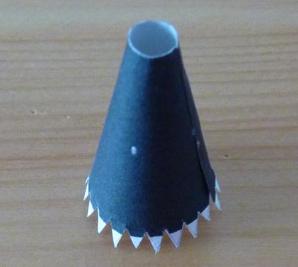
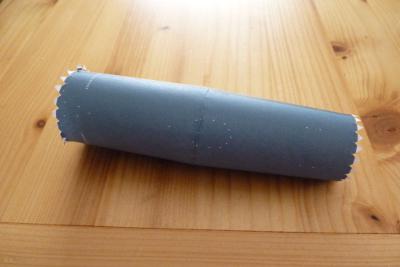
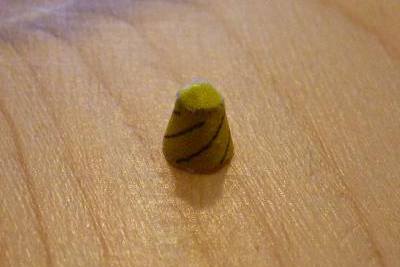
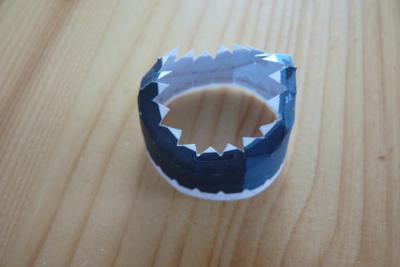
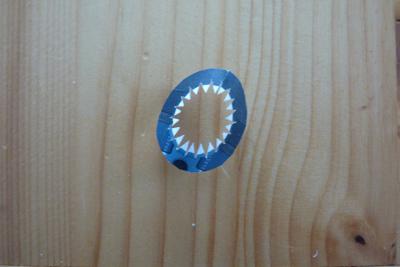
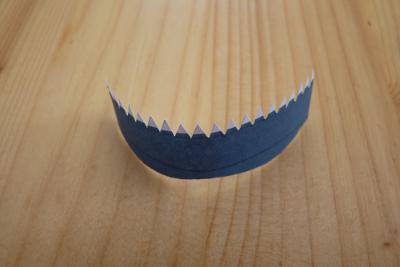
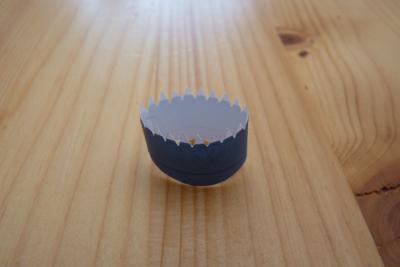
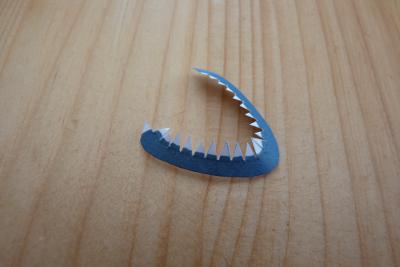
Proceed in the same way for S2 and glue together the two pieces putting a small amount of glue on the tabs and inserting S1 inside S2 as shown. Carefully align the two pieces (You can refer to the junction line in the bottom of the parts) and proceed with the edge alignment.
Note that the tabs are partly colored, to reduce junction visibility. This makes the model a bit harder to build, but increase the final quality.
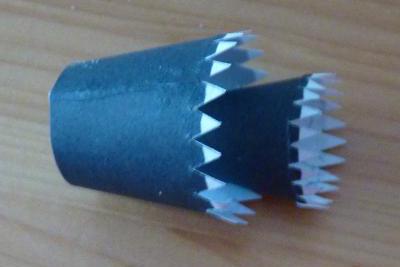
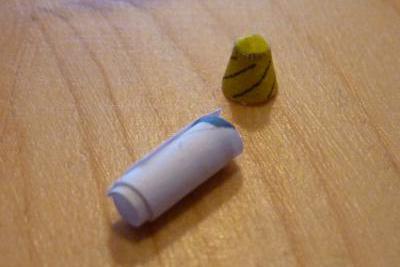
Do the same operations for S3 and its subsequent bonding to the other parts.
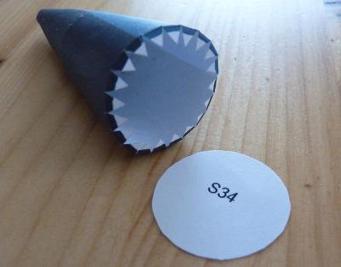
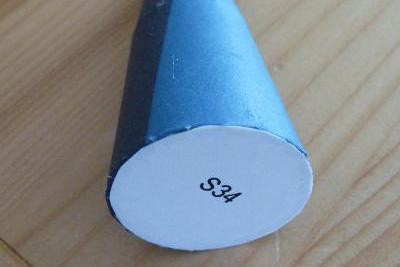
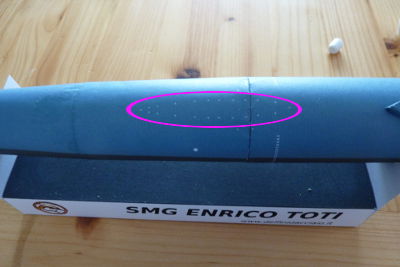
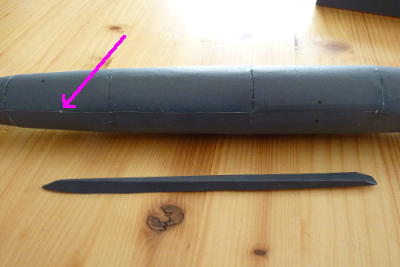
Fold the tabs of S3 toward the inside as shown then cut and glue S34 separator. This separators (3 in total) are needed to strengthen the model and to give the shape to the hull, especially in the front where the section is not circular.
As for the previous parts, build and join S4 and S5, fold the tabs of S4 and glue to the separator S34 to join all the parts made until now.
Fold the tabs of S5, cut S56 e glue it to S5.

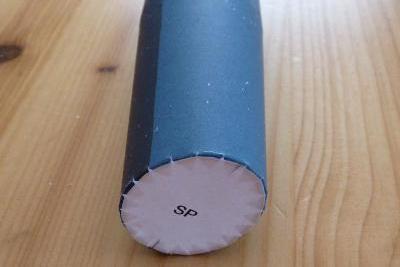
With the same procedure build and join S6 and S7. Fold the tabs of S7 and glue SP on it. Note that this separator is not circular like the others and the longer axis should be placed vertically.
To assist in positioning You can draw a line with a pencil along this axis befor cutting the piece.
If You wish You could glue together the two parts of the hull, but I suggest to keep them apart for now to facilitate the positioning of subsequent parts.
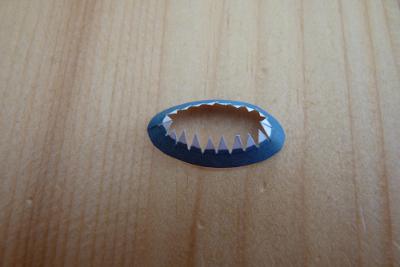
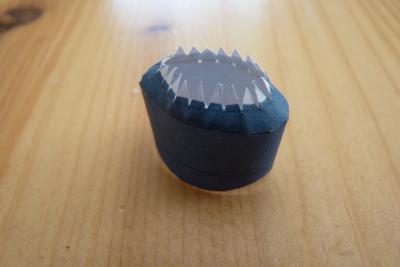
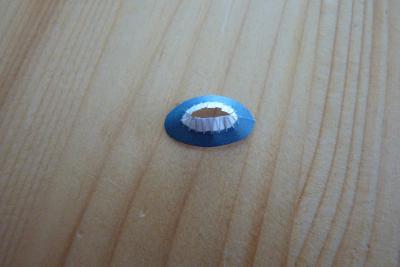
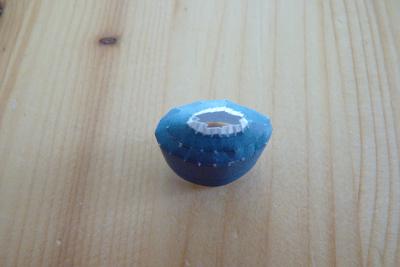
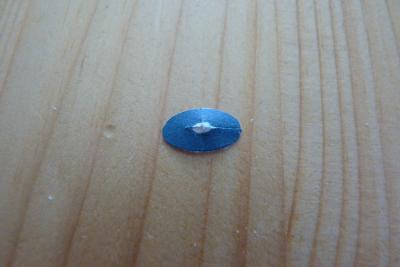
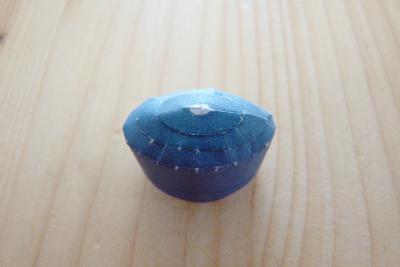
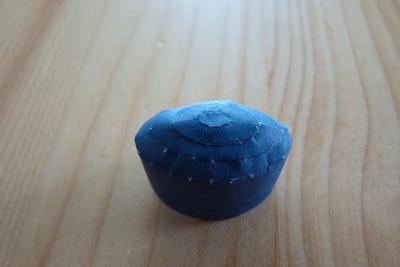
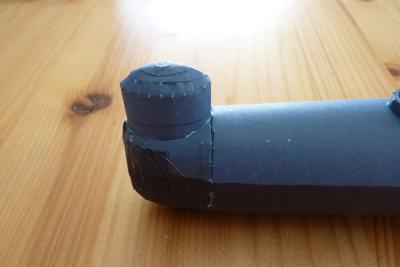
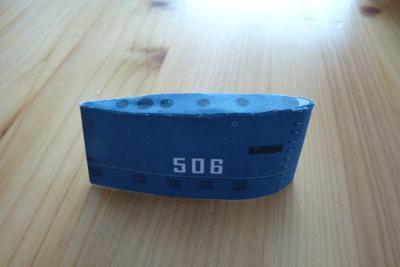
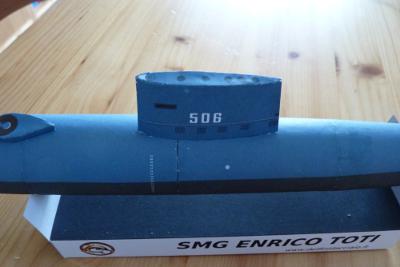
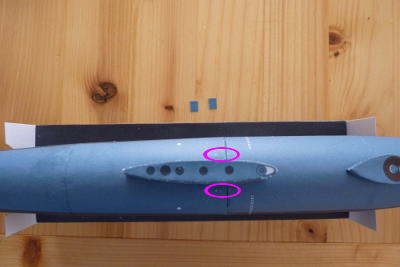
Now to create the hatch, cut R1 and glue together the shortes edges giving to the part a drop like shape (the junction will be the tip of the drop). Fold the tabs of the flat side and glue R2 on them.
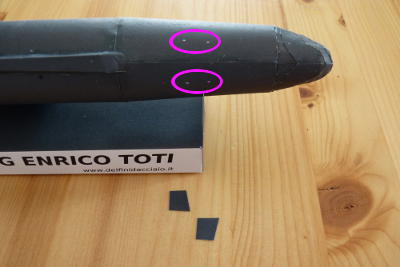
The tabs of the curved side should be glued to the top of the hull over the junction between S6 and S7, at the lighter dots.
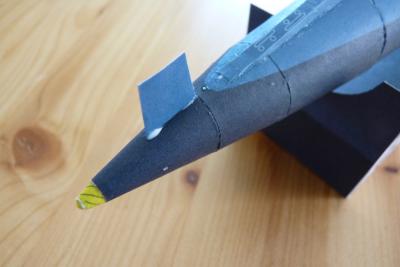
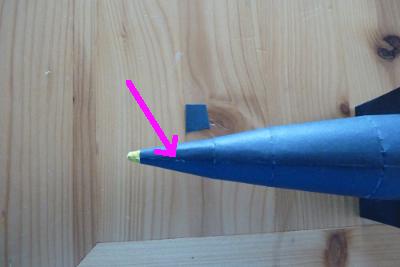
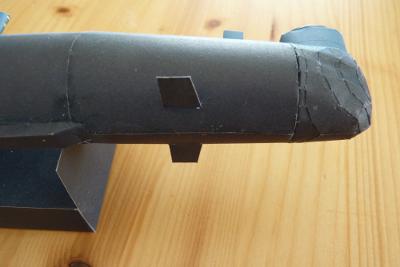
Cut R3, Fold and glue it as shown in the photos, the glue it on the hull between S2 and S4 at the light dot as indicated.
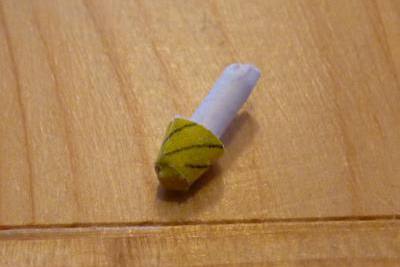
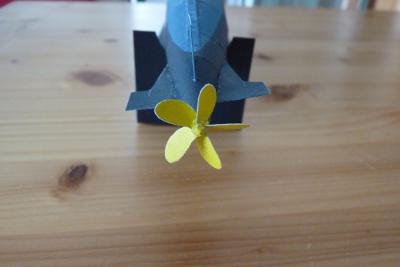
Make the rotor of the propeller cutting and gluing E1 and E2. This two parts are quite small and You need to be careful during both the cutting and the gluing.
To join the rotor to the hull roll a small piece of paper and glue it on the inside of the propeller. This will be a good support for insertion into S1.
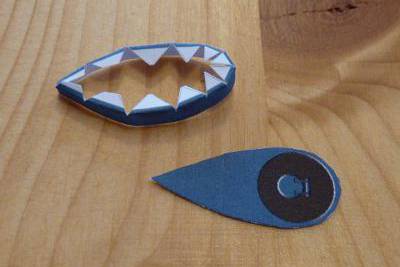
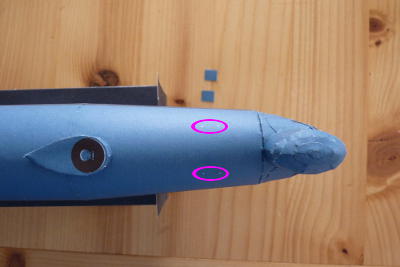
Cut P1 and glue the two ends to form a ring.

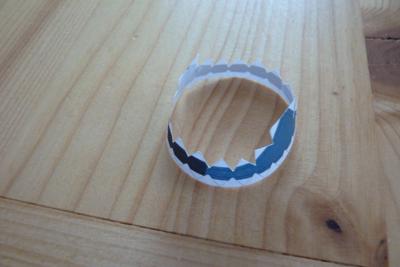
Do the same with P2 and glue it on P1 as shown in the photos.
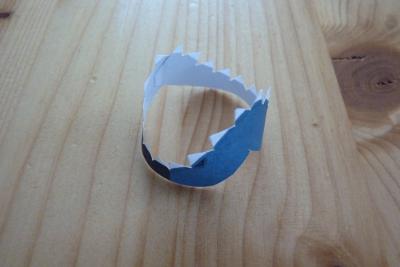
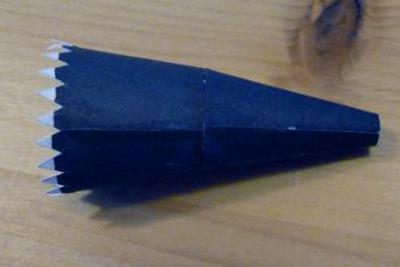
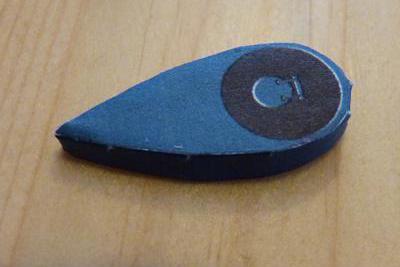
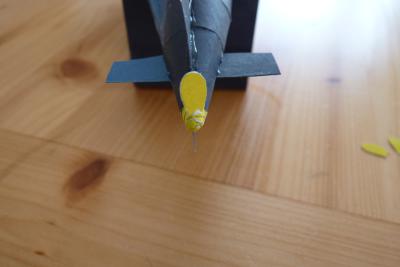
Again do the same for parts P3, P4 and P5 taking care to the shape of the bow. Look at the photos for reference.
Now cut P6 and glue it on the other parts.
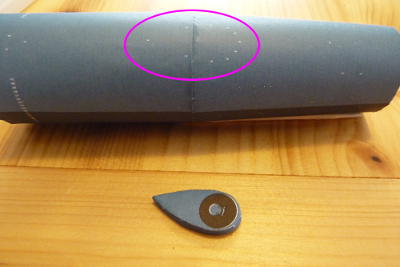
Finally glue the bow to SP taking care of the boundary.
Cut N1 and make a ring like in the photos. The curved side will be glued to the hull.
Cut N2 and make and elliptical ring. Not that the ring is slightly flattened.
Then glue it on N1.
Go on with N3 and N4 to make the top of this piece.
Cut N5 and glue it on N4 to finish the sonar dome.
Glue the dome on the hull just above P1-P6 as shown in the photos.
Now You can join together the two parts of the hull if You didn't glue them before.
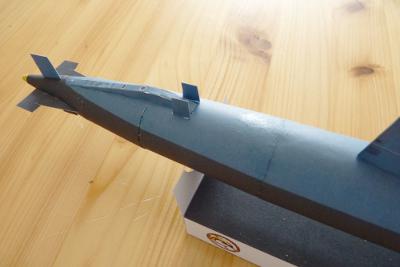
Cut, fold in half and glue T4 (the rudder). Glue it on the top of the stern at the white dot as shown in the photos where You can also see the orientation of the part. When in place, wait for the glue to be completely dry before proceeding to avoid that the part tilt or tear away. This will be mandatory for all the parts like this.
Cut, fold in half and glue T5. Glue to the bottom of the stern as You did for the last part. Again remeber to wait for a complete dry of the glue.
Make and glue in the same way also T6A and T6B (aft dive plans) and place them on the sides of the stern as shown in the photos.
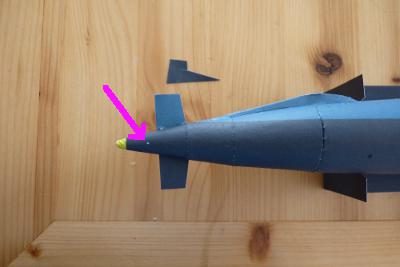
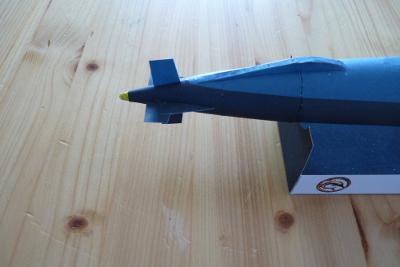
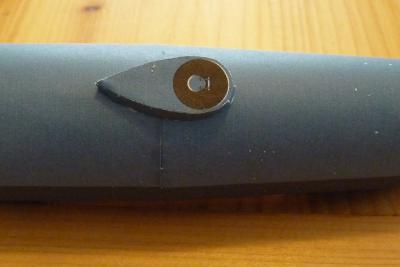
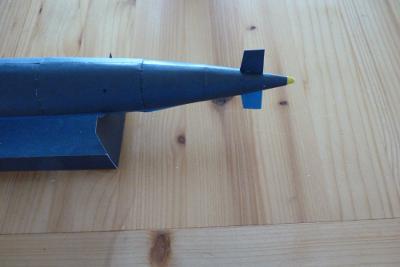
Cut V1 and glue the edges and shape it like an elongated drop. Then cut V2 and glue it on V1 to create the fin.
Glue V1 in the middle of the hull at the white dots as shown in the photos.
Cut and fold R4 (the keel) and glue it on the bottom of the hull with the rear at the light reference dot.
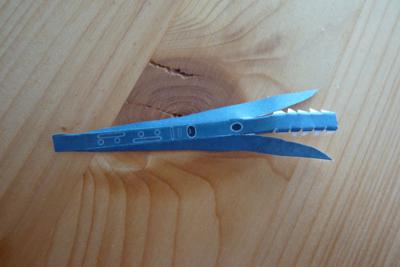
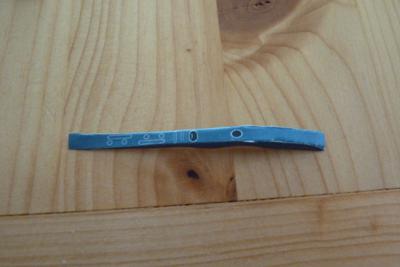
Cut, fold in half and glue T1A and T1B (passive sonar ranging). Glue them at the light dots as shown in the photos.

Do the same for T2A, T2B, T3A and T3B. First two wil be placed in the middle of the hull, beside the fin and the last ones toward the bow.
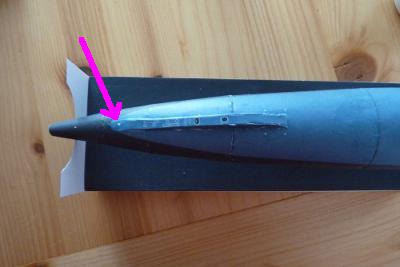
In the same way make T7A and T7B (fore dive plans). Glue them to the bottom of the hull at the light dots near the bow.
Cut the 5 parts of E3A and of E3B and glue the first ones to the last ones to make the propeller blades. These will be glued to the rotor at the dark lines.


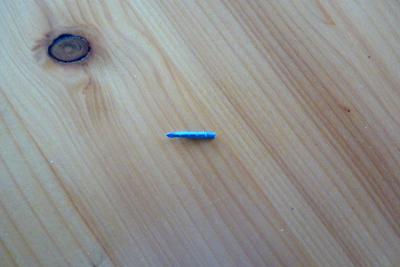
Cut the two parts of H1A and H1B. Roll them with the help of a toothpick and glue them. These two pieces will be glued to V1 as shown in the photos.
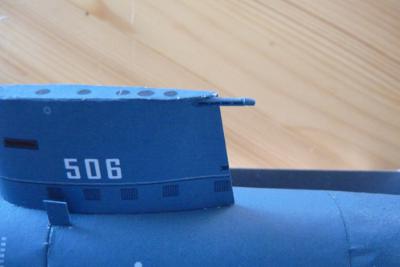
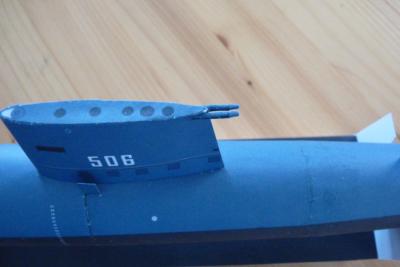
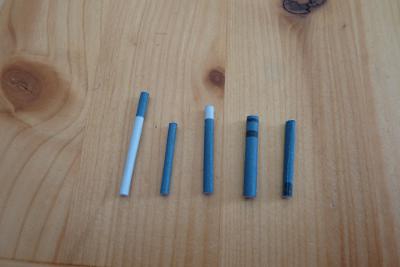
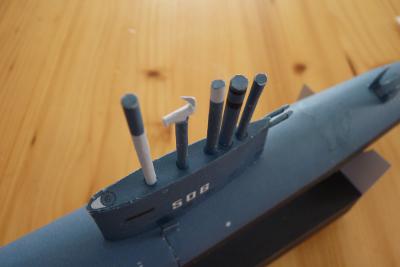
Cut parts from A1 to A5. Roll them using a toothpick and glue them to make the masts (periscope, radar, esm, snorkel and comunication). Glue them on V2 as show in the photos.
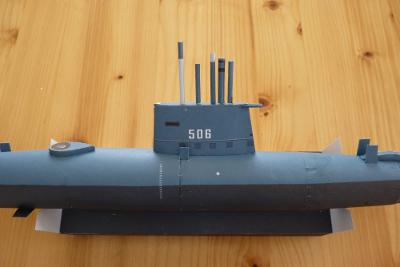
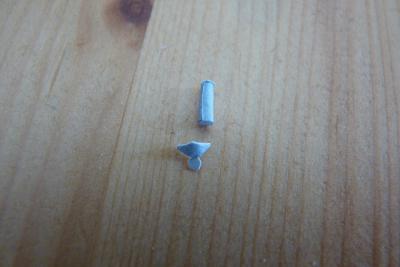
Cut the the parts from A2B and glue them together. Cut and roll A2A and glue to A2B. Then glue these on A2 as shown in the photos.

Now Your Toti paper model is complete!
Of course the model can be improved using different tecniques. For example You could fill the most visible joints with stucco and/or color them with fine tip markers.